


Welcome to Insentric — bring clarity to your marketing performance
Insentric turns your disconnected marketing automation, CRM, and advertising data into a single, reliable source of truth. It unifies your customer journey across systems, delivers structured reporting, and helps marketing and revenue teams measure what truly drives growth.
With tools like the Insentric CMO Dashboard, you can track engagement, pipeline health, and contribution to revenue — all in real time, without manual spreadsheets or fragmented reporting.
Before You Begin — what to expect
This quick-start guide walks you through the essentials of getting started with Insentric. You’ll connect your marketing platform, define which contacts sync in, and begin exploring your dashboards. Setup takes just a few minutes, and your reports will populate automatically once the sync begins.
1. Connect Your Marketing Automation Platform
After receiving access to your Insentric Instance, connect your marketing automation platform to Insentric. The process is quick and secure — just authorize the connection, and Insentric will start syncing your data automatically for reporting.
👉 Step-by-step guide for HubSpot users: Connecting HubSpot to Insentric.
If you later disconnect the platform, live syncing stops immediately, but your existing reports remain visible until your instance is deactivated.
2. Choose Which Contacts to Sync
To control which contacts are included in your Insentric reports, start with HubSpot General Settings. Here, you’ll define the All Records Active Segment — a dynamic HubSpot contact segment that determines which contacts Insentric will sync.
We recommend including all marketable and relevant contacts while excluding test, duplicate, or internal records. This ensures your dashboards reflect clean, up-to-date, and meaningful contact data.
3. Enable Reporting Fields
Next, review which contact fields or properties Insentric uses for reporting. You can manage this through Selecting Fields for Reporting, which explains how to enable only the contact properties that support your reporting goals.
Keeping this setup lean ensures accurate, fast-loading dashboards aligned with your data model.
4. View Your Reports
Once syncing is complete, your dashboards will populate automatically. To access them in the Admin Panel:
- Click Go to Reports.
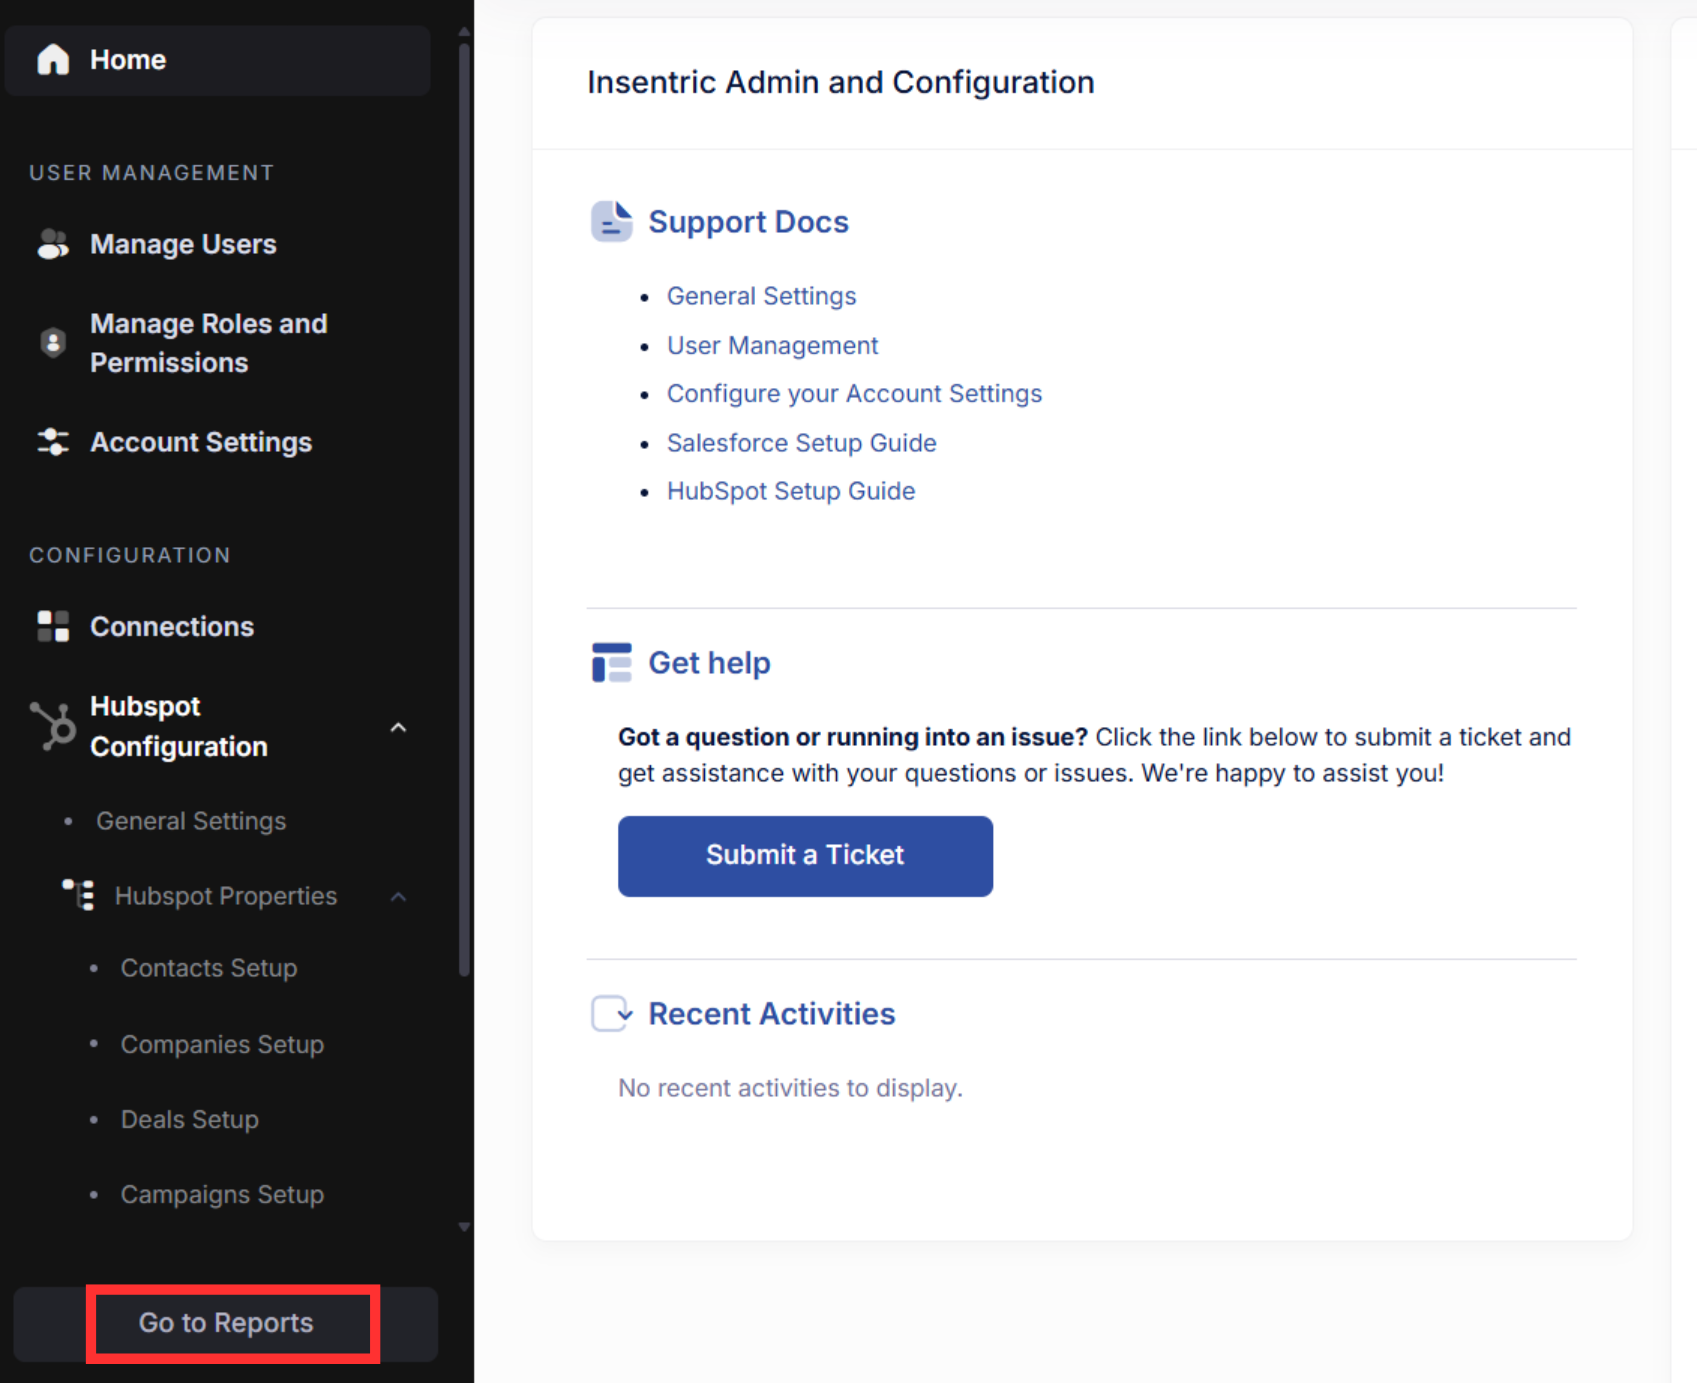
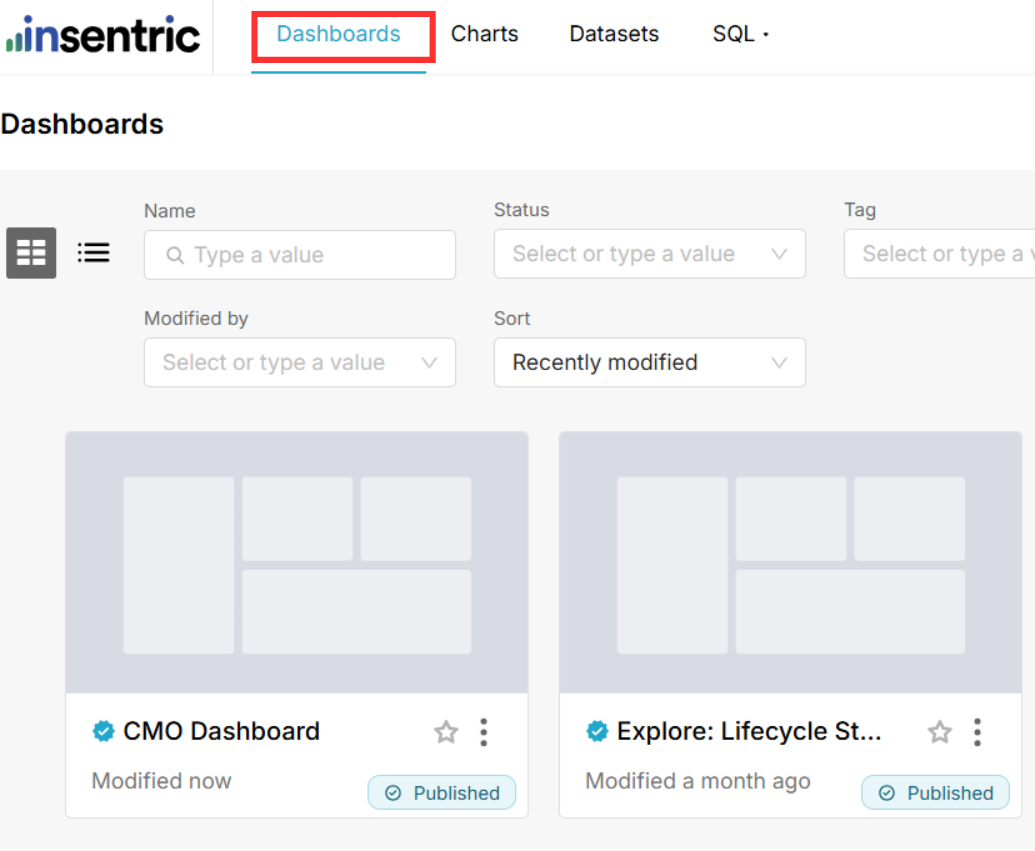
- Select a dashboard — such as CMO Dashboard.
Best Practices
- Keep data clean: Remove test, duplicate, and unsubscribed contacts/companies from your source platform.
- Review quarterly: Revisit your Insentric configuration to ensure accuracy as your data evolves.
- Monitor sync status: Confirm that your connection remains active in the Admin panel.
Need help? Visit our Help Center for setup assistance and troubleshooting.
You’re All Set
Your marketing, CRM, and ads data are now working together in Insentric — giving you a unified view of performance and revenue impact. Start exploring your dashboards and see how clarity turns data into direction.

