


Getting Started with Lifecycle Setup — show your journey clearly
Setting up your lifecycle model in Insentric teaches the platform how to understand your customer journey — what each stage means and how people move through it. This makes your reports clearer, improves tracking, and shows how marketing drives results.
Here’s a quick way to start:
- Click Lifecycle Stages from the left-hand menu in the Insentric Admin Page.
- Choose a default model or click Create New Model.
- Start drawing your lifecycle model using stage groups
- Activate the Lifecycle Model
Create Your Lifecycle Model — name and define your journey
Before you begin mapping stages, you need a lifecycle model to work within. This model defines the structure of your customer journey and serves as the foundation for all stage mapping.
- From the Admin menu, click Lifecycle States.
- Here, you can either select a ready-made default model or click Create New Model.
- If you're creating a new model, provide a meaningful name and description—for example, “Lifecycle for SaaS Trial-to-Customer Journey.”
Adding a name and description helps your team identify the model’s purpose, especially if you're managing multiple lifecycle journeys across products or regions.
Build Your Ideal Success Path — define and map your funnel stages
If your marketing team has already defined a lifecycle journey, you can map it in Insentric using Stage Groups—rectangular containers used to visually organize and represent each stage within the Lifecycle Setup module.
Here is a sample Lifecycle Model created using Stage Groups in Insentric:
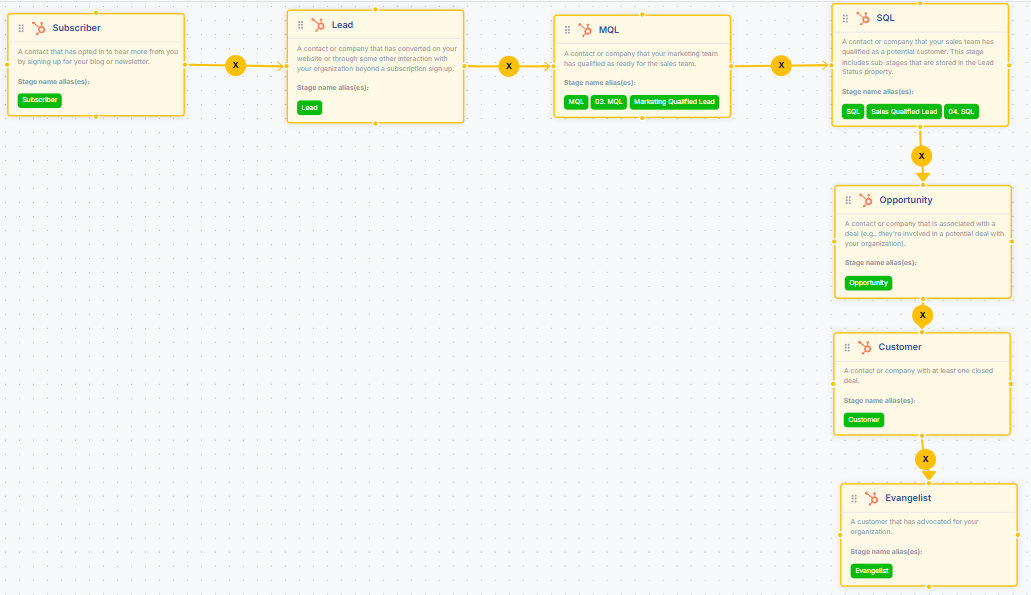
You can find more detailed instructions on using Stage Groups in the next section of this article.
Understand the usage of Stage Groups
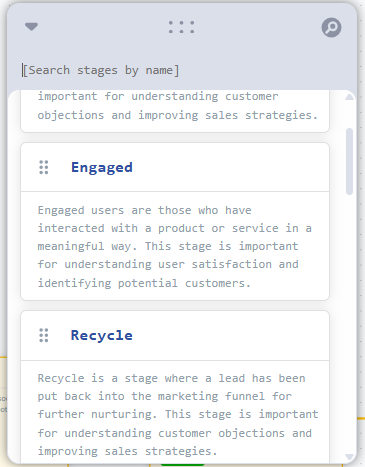
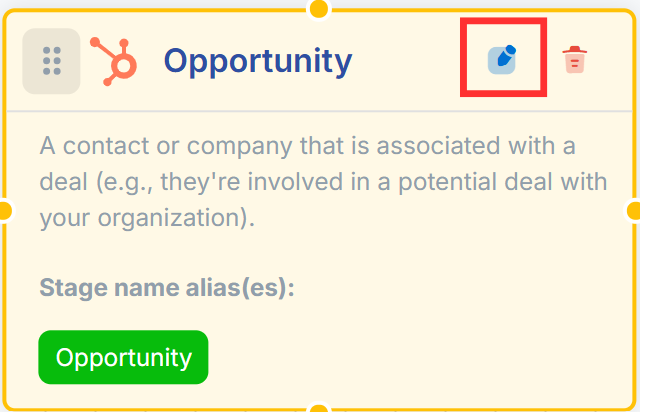
To start drawing your lifecycle model, you’ll first need to add Stage Groups that represent the key stages of your customer journey. Use the search bar at the top right to find commonly used Stage Groups and drag the ones you need into your model. If none of the predefined options align with your naming conventions or structure, you can create your own using the Custom Stage Group option.
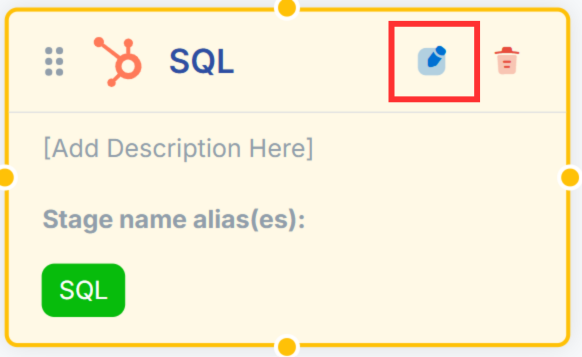
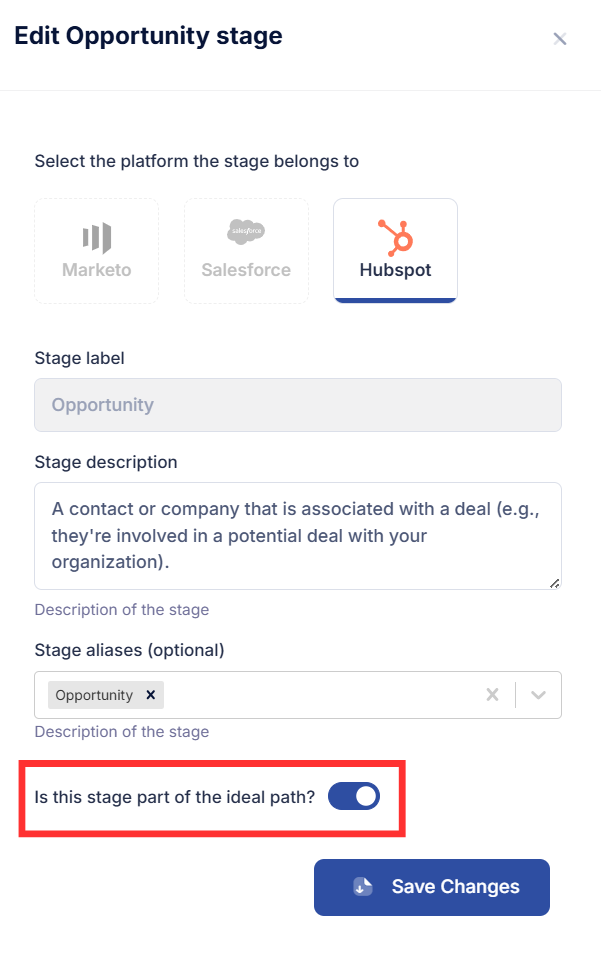
After dragging a Stage Group into the workspace, you can click the edit button to select the platform and configure the relevant lifecycle stage values.
While Insentric allows you to use different platforms for mapping your lifecycle states, it is highly recommended to choose only one as your single source of truth—for example, if you use both HubSpot and Salesforce through an integration, decide whether HubSpot or Salesforce will define the lifecycle stage values across your entire journey using Stage Groups. This ensures consistency and avoids conflicting data.
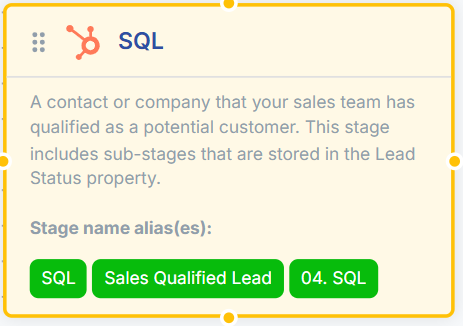
As mentioned in the previous section of this article, each Stage Group can include:
- One value — for example, just “MQL”
- Multiple values — like “MQL1,” “MQL2,” and “Marketing Qualified Lead”
This flexible setup helps Insentric recognize your lifecycle stages, no matter how they're labeled in your system.
Here is an example of using a Stage Group to combine different aliases:
Mark Ideal Path Stages — highlight key milestones
Once you have all the necessary Stage Groups in your workspace, you can start connecting them in a specific order to draw your lifecycle model.
At this point, you can start defining your ideal success path—this represents the typical, desired progression a contact takes through your lifecycle, from initial engagement to becoming a customer and beyond. This tells Insentric that the stage is part of your core funnel. It helps you track performance, measure stage velocity, and visualize progress.
Common ideal path stages include:
- Lead
- Marketing Qualified Lead (MQL)
- Sales Qualified Lead (SQL)
- Opportunity
- Customer
For each Stage Group in your ideal customer journey, click Edit and turn on "Is this stage part of the ideal path?"
You can also include non-success stages like Disqualified or Recycled—as long as you configure the Stage Group settings to indicate that these are not part of your ideal path. This helps Insentric understand your full lifecycle flow without treating these stages as part of the success journey.
Finalize and Activate Your Lifecycle Model
Before activating your model, make sure the following setup steps are complete:
- Each stage is correctly defined using Stage Groups.
- Lifecycle stages are ordered to match your customer journey.
- The ideal success path is clearly marked.
To turn your model on, click Edit Model Settings and toggle "Is this model active?".

